Adding a Portrait to a Provider Profile
The ability to add a portrait to a provider’s profile is restricted to members of UAMS Web Services.
Image Content
The portrait should be as up-to-date as possible. Anything more than 10 years old should be replaced with a more recent portrait.
Find information on the minimum requirements for provider profile portraits.
Rename your file to use Last_First-Middle-Pedigree. This will ensure that we know who this image belongs to in the future.
The image orientation must be portrait / vertical to avoid automatically cropping out important elements on the sides of the image.
The portrait should be high-resolution, preferably not having been resized at all. The minimum dimensions are 1200×1600, but larger is preferred in case the image is displayed at a larger size in the future.
The portrait will be automatically cropped by the system to a 3:4 aspect ratio, taking the center portion of the image. The image should be cropped to that aspect ratio before uploading for best results. The “My Eyes Are Up Here” plugin (where you set hotspots) does not have an effect here on Find-a-Doc pages, but the hotspots should still be set in case the image is used elsewhere.
Cropping the Image Before Upload
Since the image will automatically be cropped to a 3:4 aspect ratio, you may want to crop your image before you upload it to ensure everything is still visible and that the portrait will look consistent when placed beside other Provider portraits.
In Photoshop CC, use the Crop tool in the Tools panel. Set the dropdown to Ratio. Set the ratio to 3:4. Turn on the Rule of Thirds grid.

The grid may not appear initially. Clicking inside the image should make the grid appear.
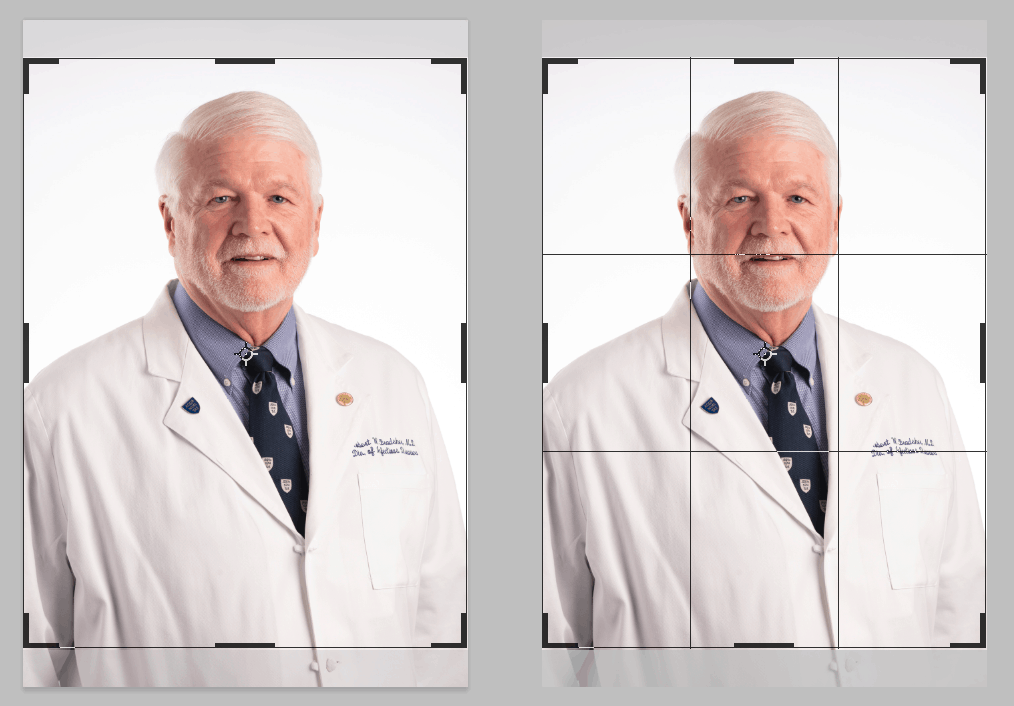
Position the top of the crop box just above the subject’s hair. A good distance would be the equivalent of three finger widths above the top of their hair (or scalp, if bald).
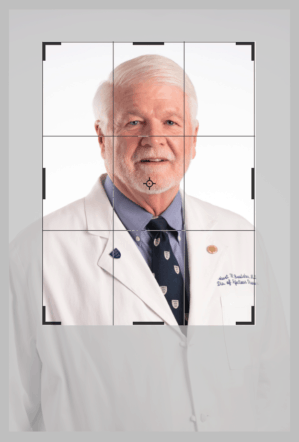
Resize the vertical dimensions of the crop box so that the bottom edge is around the lower half of their chest. This will typically be above the first button of their coat.
Adjust the vertical positioning of the crop box so that the first gridline is at or above the tip of their nose but below their eyes. Adjust the vertical size of the crop box as needed so that the top remains just above the top of their head.
Adjust the horizontal positioning of the crop box so that their eyes are within the middle gridlines. If their head is facing directly at the camera, both of their eyes should be centered between those gridlines. If they are facing more to the side of the frame, their eyes can be off-center, but ensure that their outermost eye is at least within the gridline on that side.
Press Enter to confirm the crop.
Setting Details in the Media Library
After uploading your image, there are some details to set in the Media Library.
Name the asset using Last, First Middle Pedigree (Year), where Year is the year in which the image was taken (e.g., Bradsher, Robert Wilder Jr. (2019)).
If the asset is the wide version of the portrait (16:9 aspect ratio), include “wide” in the parentheses (e.g., Bradsher, Robert Wilder Jr. (2019, wide)).
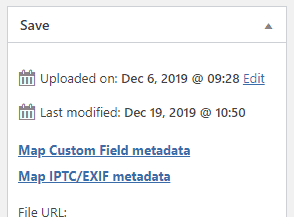
Change the Uploaded date to the date the image was actually taken (not uploaded). Do this by clicking Edit beside Uploaded on in the right side of the window.
Set the alternative text to the provider’s name as it would be displayed on the profile, but without the degrees and credentials. If the “Dr.” prefix applies, include that prefix (e.g., Dr. Robert W. Bradsher Jr.).
Scroll down to the Add Hotspots button and click it. Click the center of the provider’s mouth and click Finish adding hotspots. This will tell the system how to properly crop the image on pages other than Find-a-Doc pages, if needed.
Scroll down to the Image Credit field. If there is not already a value in this field, add the name of the photographer if known.
Publish your changes.
Tell the Server to Generate the Image Sizes
The first time a Provider’s profile is loaded, the server dynamically generates different sizes of the image based on the need. So after you add your new image to your provider and update the page, you should visit the page to allow the server to create the relevant image sizes. This way, any delay is experienced by you and not a site visitor.
Replacing an Existing Portrait
When you have a new version of a portrait and want to use it instead of the old portrait, replace the portrait instead of adding a new asset.
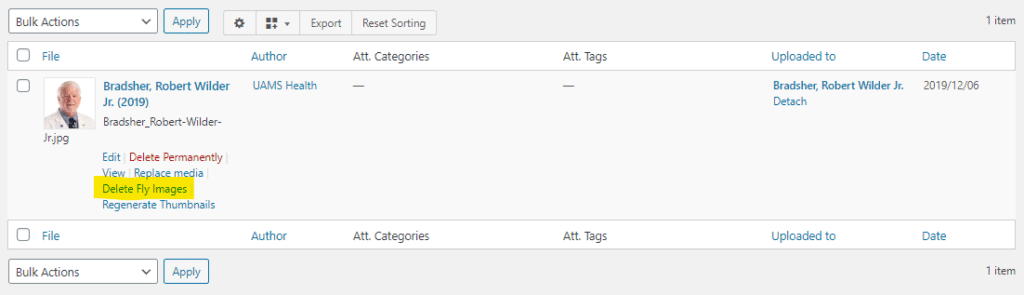
Find the asset in the media library. Hover over it to reveal the actions you can take.
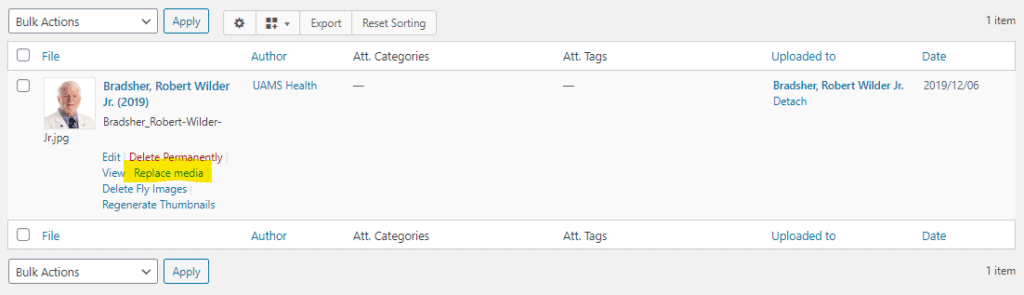
First, click Replace Media. It would be best to open this link in a new tab or window.
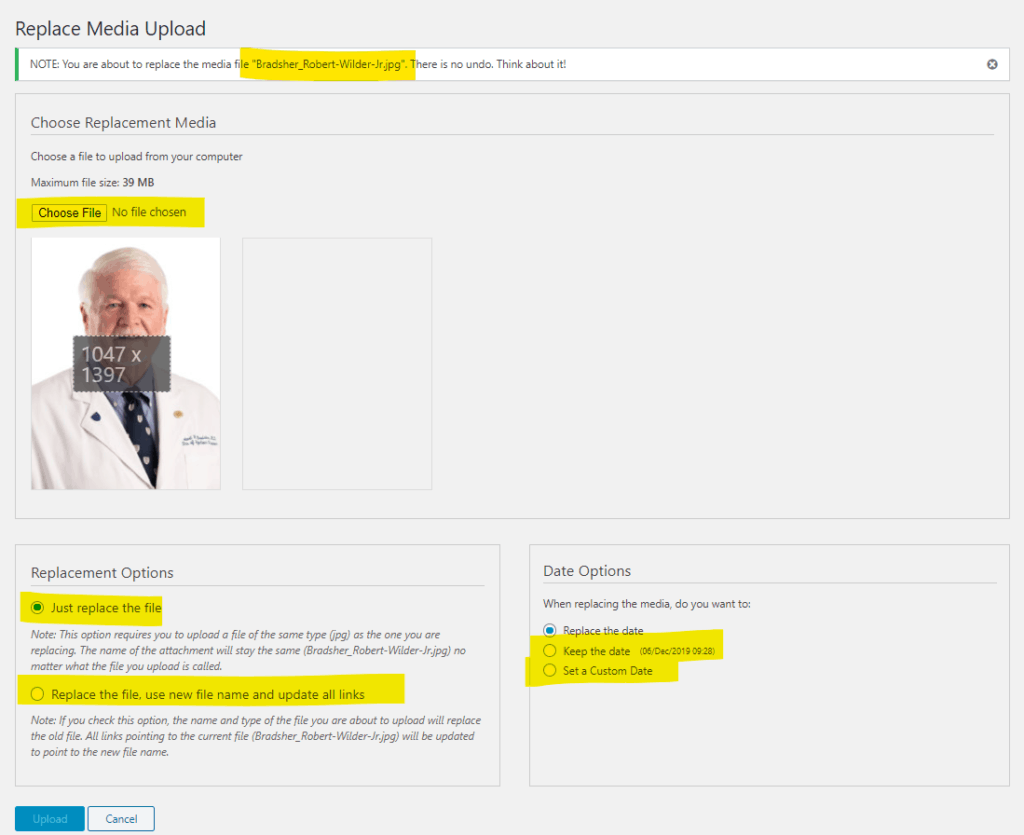
On the Replace Media Upload page, select your new image by clicking the Choose File button.
You can see the filename of the existing portrait at the top of the screen in the “Note” banner. If the old asset uses the correct filename structure, you can leave the Replacement Options set to Just replace the file. If it does not and your new filename uses the correct structure, change the Replacement Options to “Replace the file, use the new file name and update all links”.
If the new photo was taken on the same date as the existing portrait, set the Date Options to Keep the date. If the new photo was taken on a different date, change the Date Options to Set a Custom Date and set the relevant date. Setting the time is unnecessary, but you may set that if you wish to.
Upload your portrait.
After the upload is complete, name the asset using Last, First Middle Pedigree (Year), where Year is the year in which the image was taken. Example: Bradsher, Robert Wilder Jr. (2019).
Scroll down to the Add Hotspots button (it may say Edit Hotspots) and click it. If there is already a hotspot, click the hotspot to remove it. Click the center of the provider’s mouth and click Finish adding hotspots. This will tell the system how to properly crop the image, if needed.
Scroll down to the Image Credit field. If there is not already a value in this field, add the name of the photographer if known. If there is already a value in this field, it may be the value from the old portrait, so ensure that it is the correct value.
Publish your changes.
Go back to the image asset in the Media Library list and click Delete Fly Images. This will tell the server to delete any thumbnails it created for the old image.
Visit the Provider’s profile page to tell the server to generate the image sizes for your new portrait.