Cleaning up the White Background of a Studio Portrait
In order to market the institution in a consistent and professional manner, the UAMS Office of Communications & Marketing requires that any individual’s portrait published on UAMS web properties should be photographed on a white background.
For a consistent presentation, all regions of each portrait’s background should be solid white from edge to edge. There should not be a gradient of gray anywhere in the background.
Additionally, a solid white background is required in order to complete the steps in Creating a Featured Image Using a Single Studio Portrait.
If a solid white background was not accomplished through adequate or properly-configured lighting in the photography studio when the portrait was taken, the image should be edited to clean up the background so that it is solid white.
To verify that the portrait has a solid white background — and if not, to clean up the background — follow along with the video or with the written steps below the video player.
In practice, the process of cleaning up the white background takes about four minutes.

Verifying Whether the Portrait’s Background is Solid White
Open the file in Photoshop.
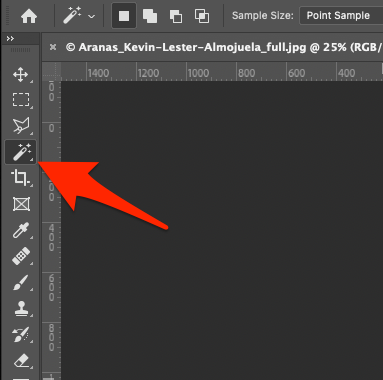
Select the Magic Wand Tool.
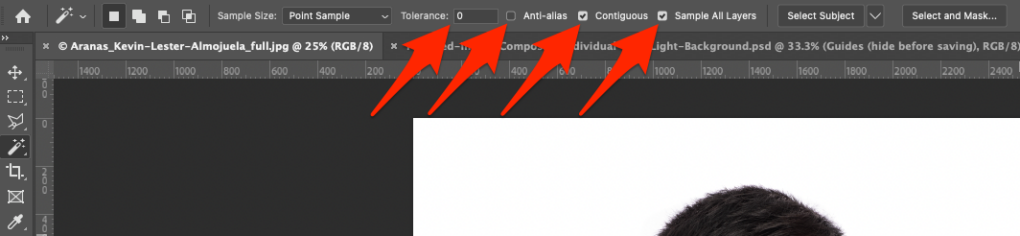
Set the Tolerance to 0. Uncheck Anti-alias. Check Contiguous. Check Sample All Layers.
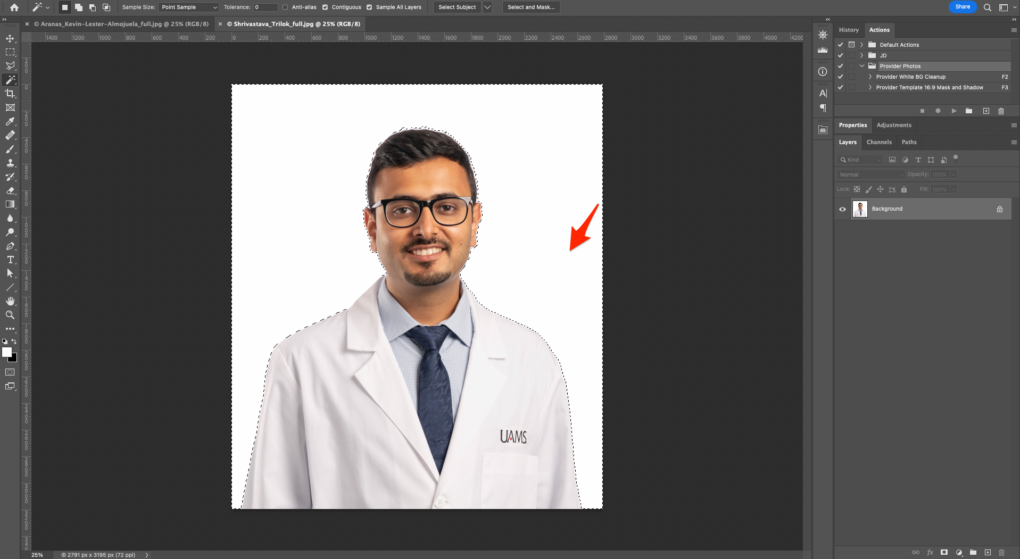
Click somewhere within the background of the image.
If the selection does not cover the entire background area, the background is not solid white.

If the selection does cover the entire background area, the background is solid white.
Editing the Background of the Portrait
If the background is not solid white, follow these steps to adjust the background to be solid white.
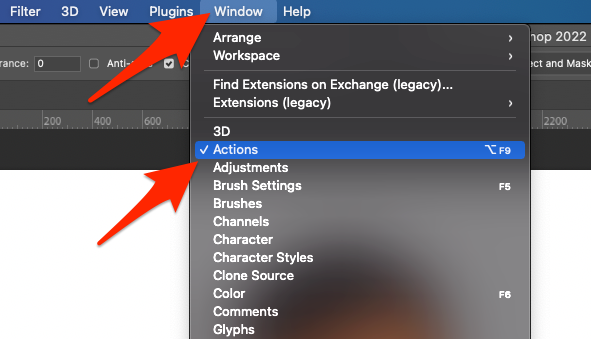
Ensure that the Actions panel is visible by going to Window menu and verifying that there is a checkmark next to Actions.
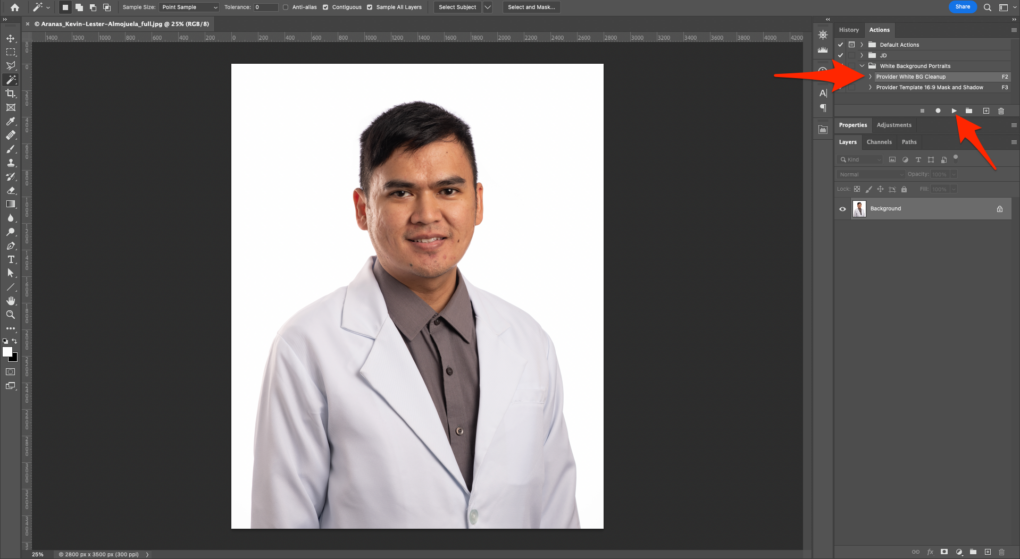
With the portrait image open in Photoshop, play the Provider White BG Cleanup action by selecting that action in the Actions panel and clicking the Play selection button (represented by a triangle / play button).
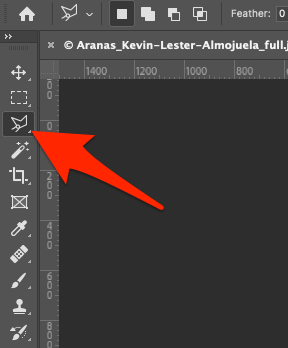
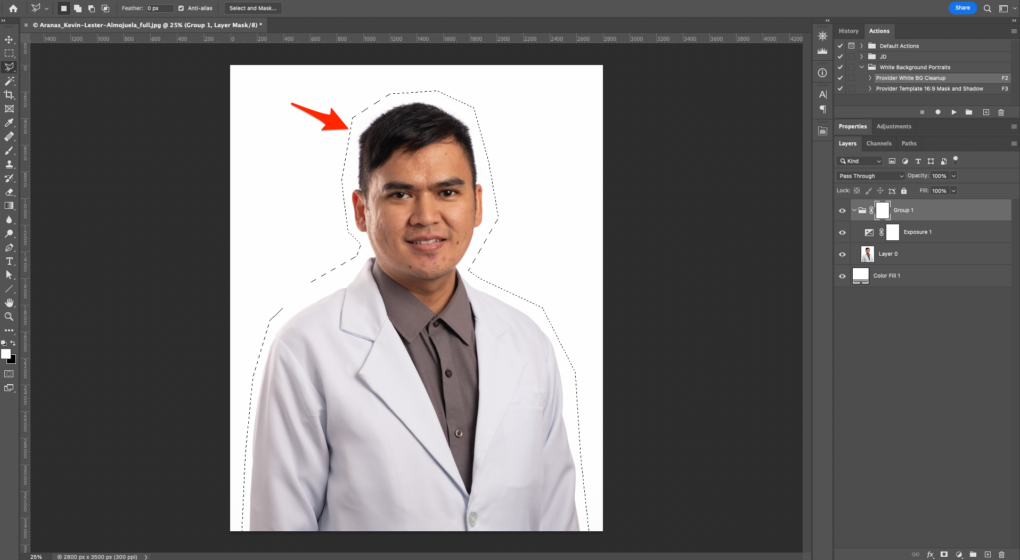
Select the Polygonal Lasso Tool.
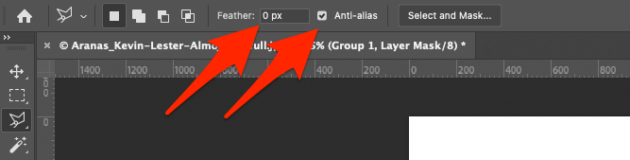
Set Feather to 0 px. Check Anti-alias.
The Polygonal Lasso Tool works by clicking three or more times to create a polygonal selection. Click around the individual to create a rough selection that leaves room around their body while leaving some space around them.
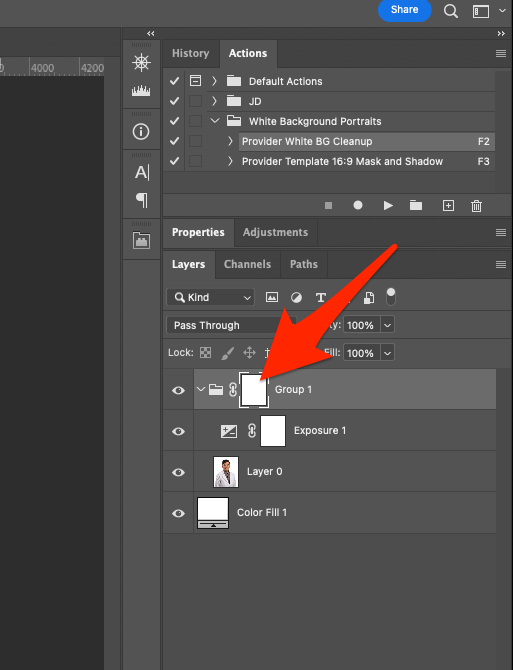
In the Layers panel, click on the mask layer on Group 1 to select that mask layer. The mask layer is the white rectangle.
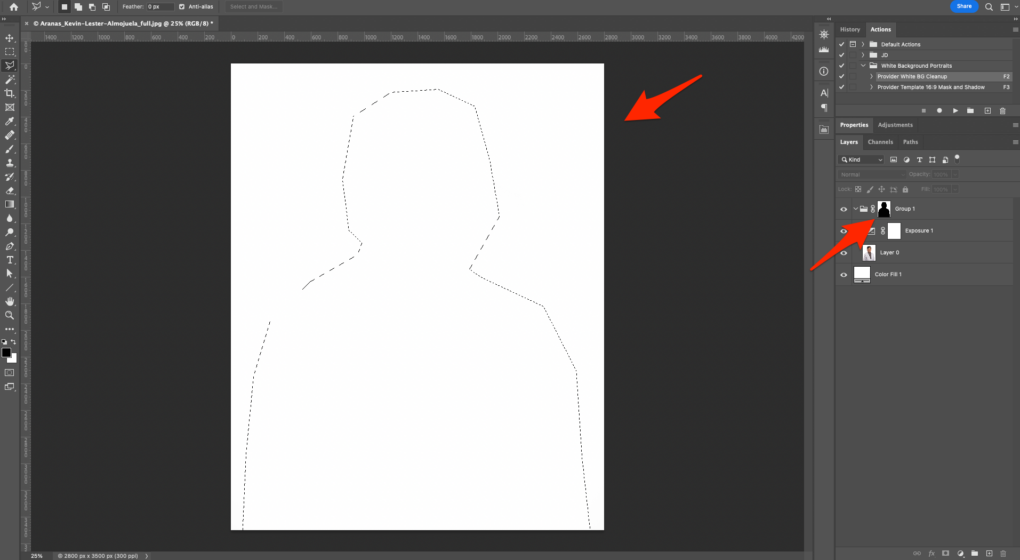
Invert the colors within the selection on the mask layer by going to Image > Adjustments > Invert. You can also use the keyboard shortcut Ctrl + I (on Windows) or ⌘ + I (on Mac). At this point, the image will look more or less like an all-white canvas.
Deselect the selection by going to Select > Deselect. You can also use the keyboard shortcut Ctrl + D (on Windows) or ⌘ + D (on Mac).
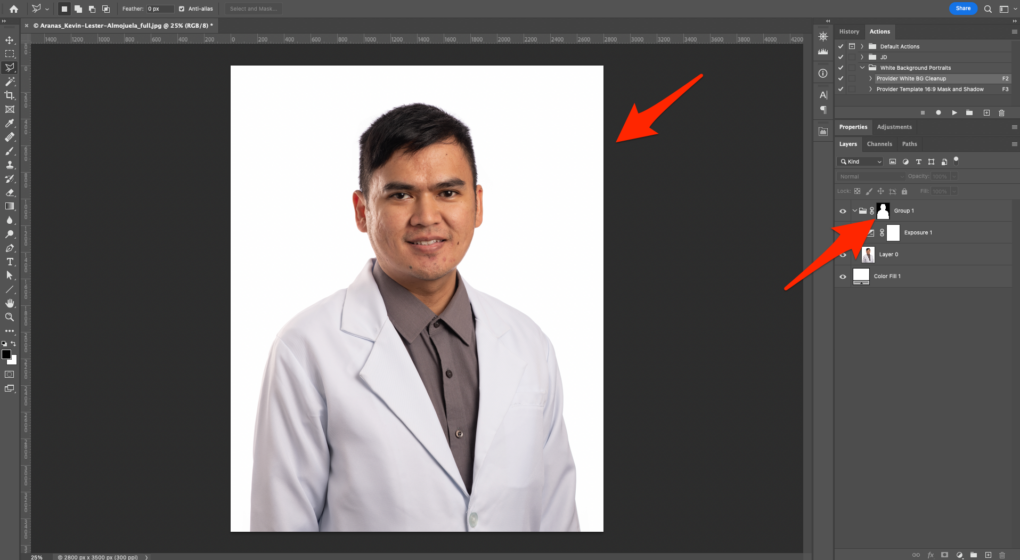
Invert the colors on the mask layer by going to Image > Adjustments > Invert. You can also use the keyboard shortcut Ctrl + I (on Windows) or ⌘ + I (on Mac). At this point, the image of the individual will be visible again.
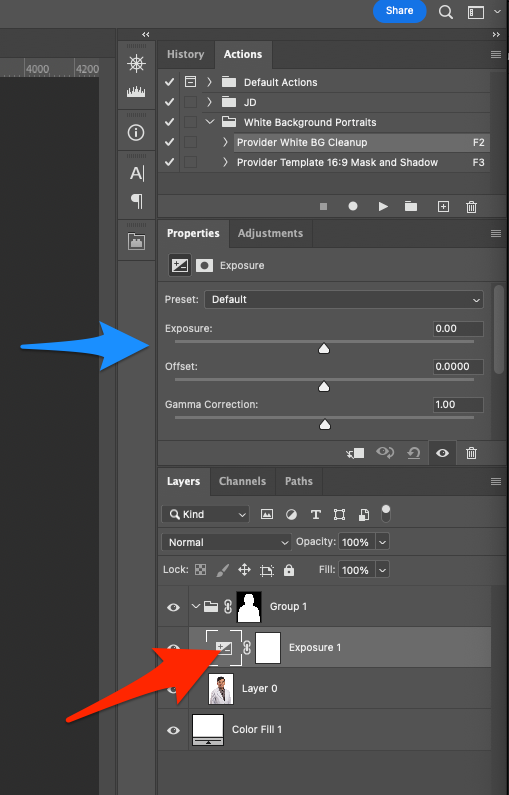
In the Layers panel, double-click on exposure adjustment layer named Exposure 1. This will open the Properties panel for the exposure adjustment layer.
Select the Magic Wand Tool.
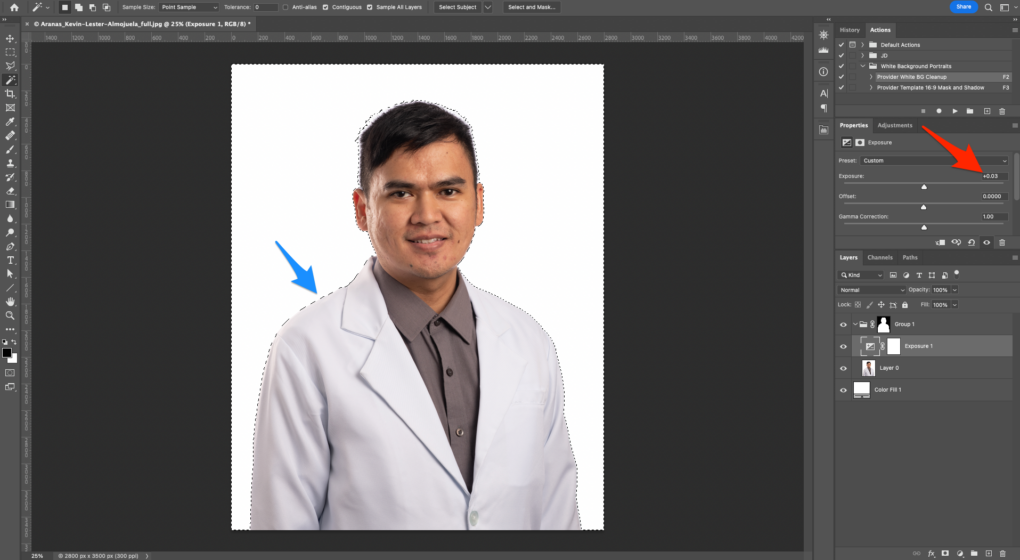
Increase the Exposure value in the Properties panel until clicking the background with the Magic Wand Tool results in the entire background being selected but before the individual’s body (particularly their lab coat or hair) starts being selected. This value might end up at something like +0.03 or it might be much higher.
Note that if there are wide variations in the lightness/darkness of the background, you may have to add multiple exposure layers with their own masked areas so that the individual’s body does not also go solid white.
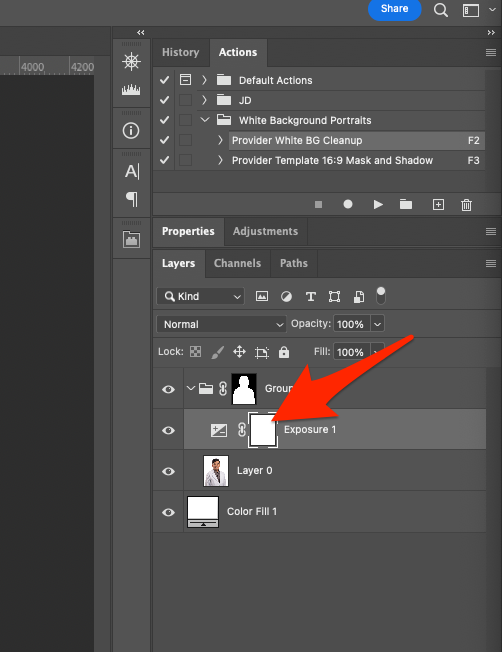
In the Layers panel, select the mask layer on Exposure 1.
With the background of the image selected with the Magic Wand Tool, invert the colors within the selection on the mask layer by going to Image > Adjustments > Invert. You can also use the keyboard shortcut Ctrl + I (on Windows) or ⌘ + I (on Mac).
Deselect the selection by going to Select > Deselect. You can also use the keyboard shortcut Ctrl + D (on Windows) or ⌘ + D (on Mac).
Invert the colors on the mask layer by going to Image > Adjustments > Invert. You can also use the keyboard shortcut Ctrl + I (on Windows) or ⌘ + I (on Mac).
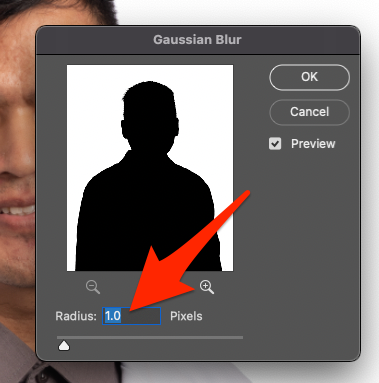
Blur the mask layer slightly by going to Filter > Blur > Gaussian Blur. Set Radius to 1.0 pixels. Click OK.
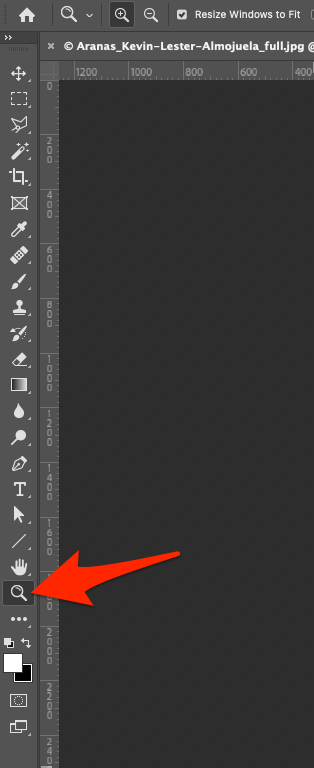
Select the Zoom Tool.
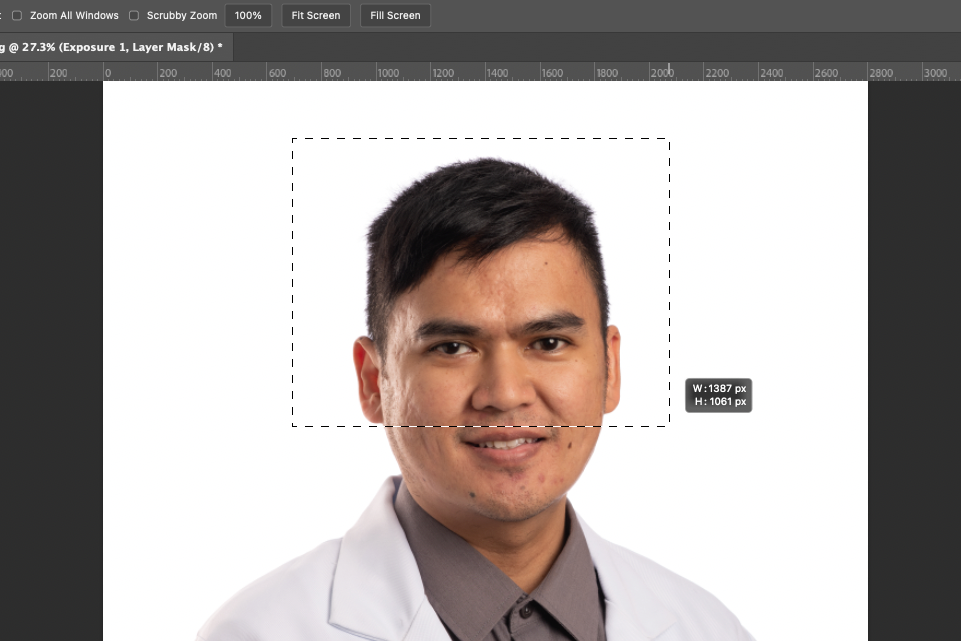
Click and drag the Zoom Tool around the individual’s head to zoom in on that area.
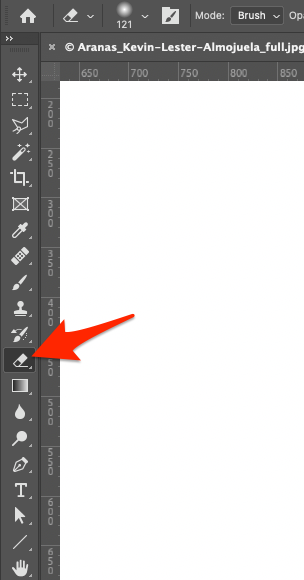
Select the Eraser Tool.
Set Opacity to 100%. Set Flow to 100%. Set Smoothing to 0%.

With the Eraser Tool selected, right-click anywhere on the image and set the Size to 150 px and the Hardness to 0%.

Set the default foreground/background colors by pressing D. This will result in the foreground color being white and the background color being black. Note that these are colors for the tool and do not have any current effect on the image itself.
Switch the foreground/background colors by pressing X. This will result in the foreground color being black and the background color being white. Note that these are colors for the tool and do not have any current effect on the image itself.

Now we will remove masked areas on the mask layer on the exposure adjustment layer to cover the edges of the individual’s hair and any other areas where the background shows through. With the Eraser Tool selected and the background color set to white, click and drag the cursor along the edge of the individual’s hair.
If the work done in the previous step with the Eraser Tool makes something brighter that should not be brighter (e.g., the individual’s ear), switch the foreground/background colors by pressing X (so that the background color is now black), change the Size and/or Hardness of the brush and click/drag the Eraser Tool over the areas where you want to mask additional areas on the exposure layer.
Check around the edges of the individual’s body to ensure that all of the edges look natural and that there are no gray areas on the background and that there are no jagged edges from the adjustments you have made.
If there are any gray areas, adjust the mask layer on the exposure layer(s) so that the exposure adjustment covers that area. If doing this does not clear up the gray area, add an additional exposure adjustment layer, increase the exposure until the gray area on the image becomes white, invert the mask layer so that the mask layer is black, then use the Eraser Tool to draw a white area on the mask layer where the gray area is on the image.
If there are any jagged areas, use the Eraser Tool to soften the mask on the relevant exposure adjustment layer(s).
Once you are satisfied that the background is solid white and that the exposure adjustments look natural, flatten the image by going to Layer > Flatten Image.
Save the image, setting the filename to end in _full.jpg.
Set the JPEG quality to 12.